


You must be tired of searching the internet for mehndi designs. Yes, we know! MehndiDesign.Art…
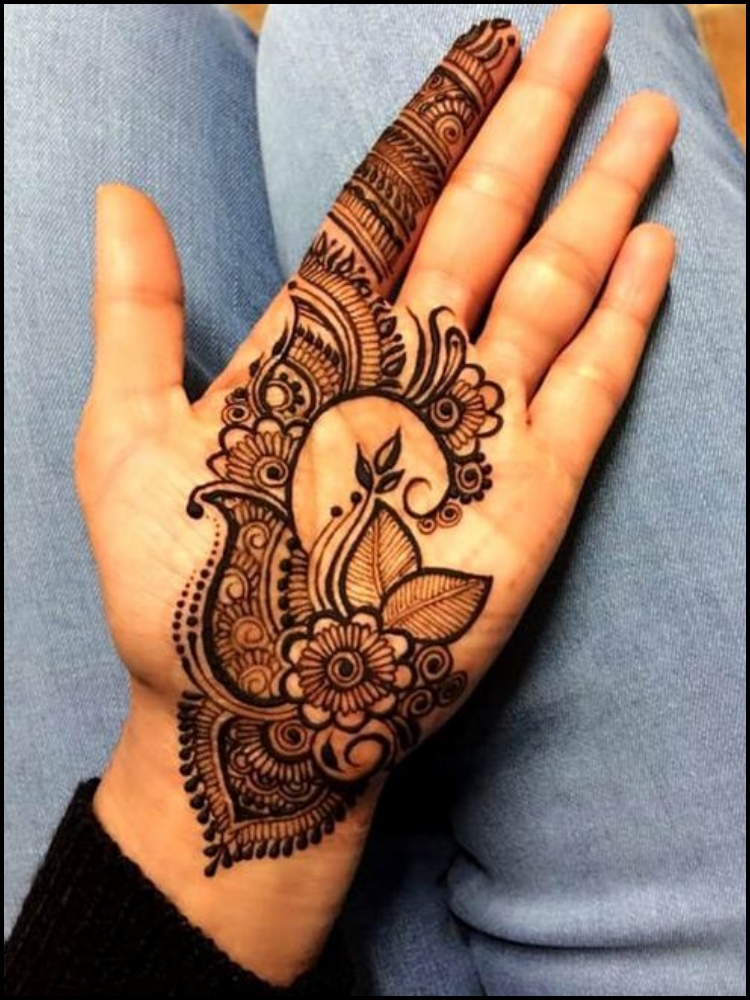
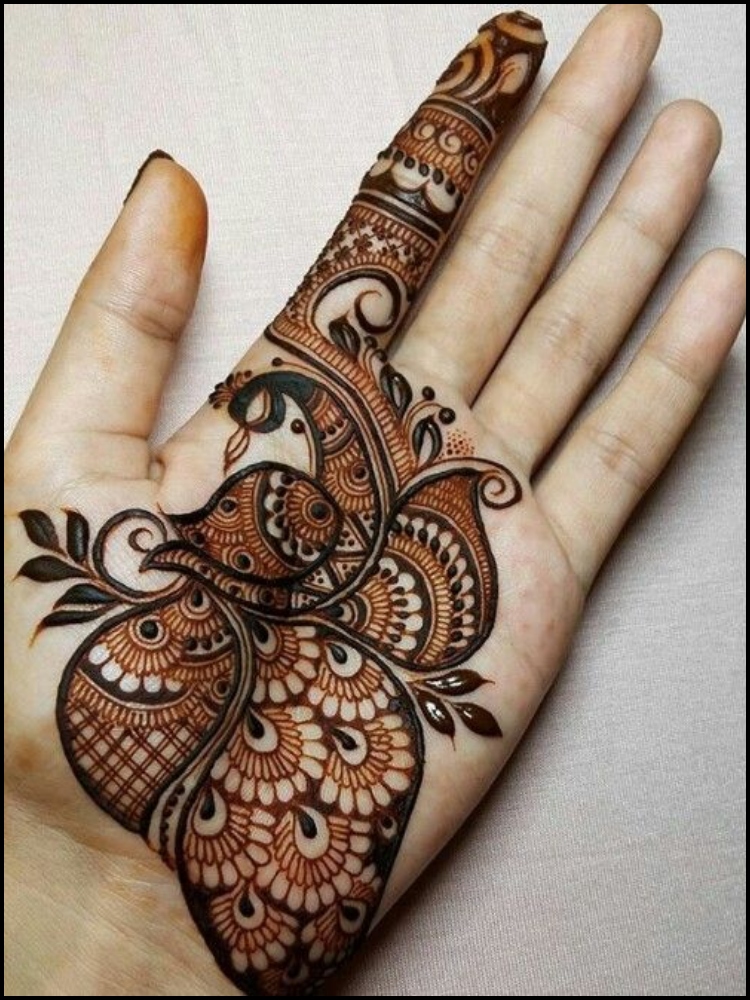
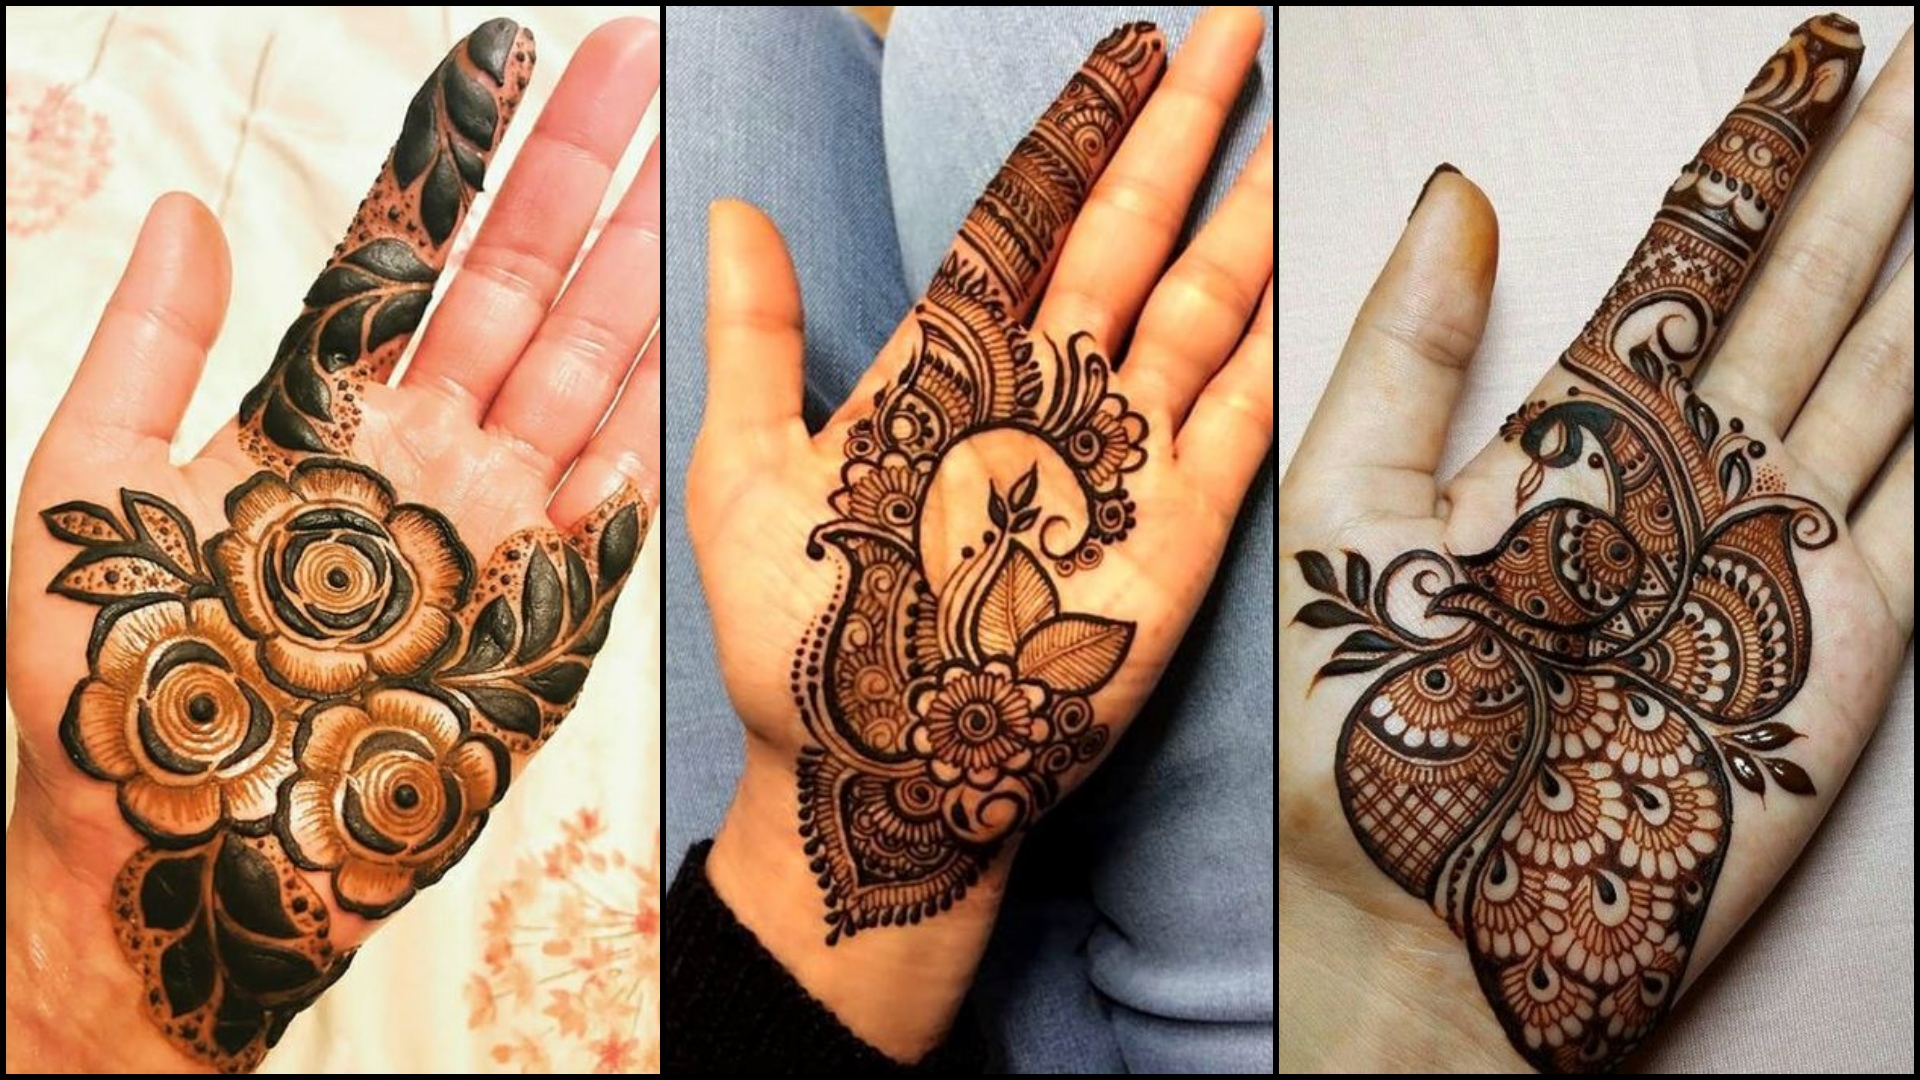
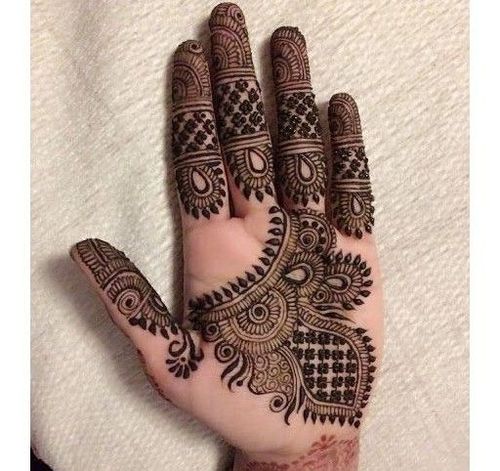
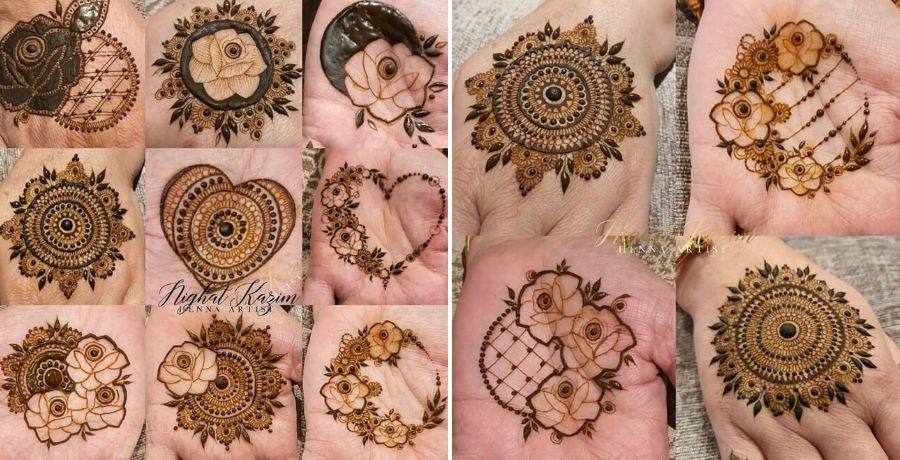
33+ Front hand Mehndi Designs Simple and Easy
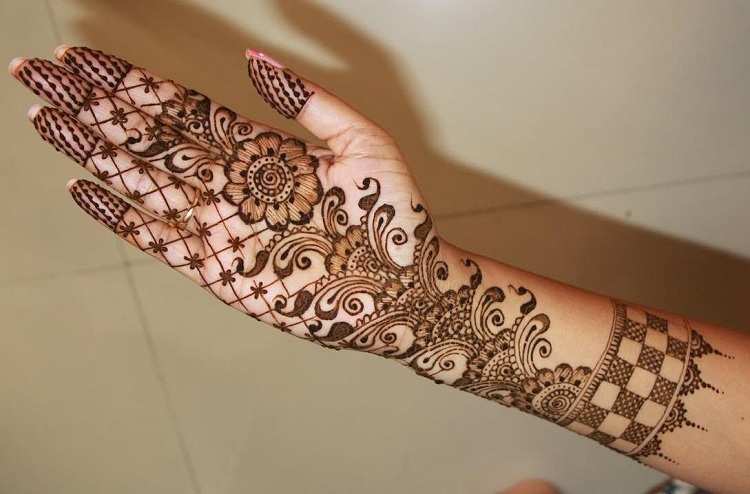
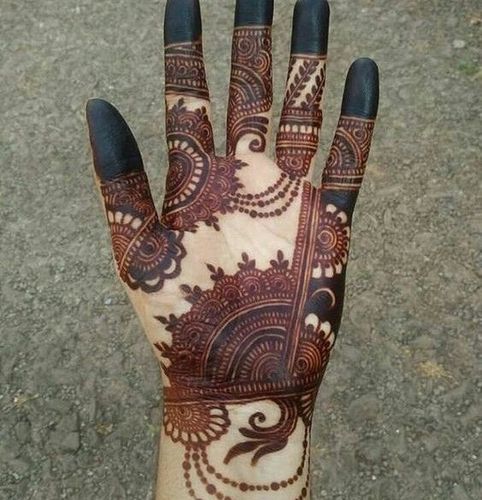
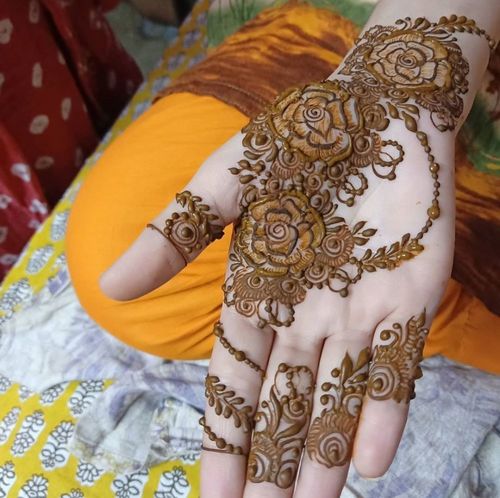
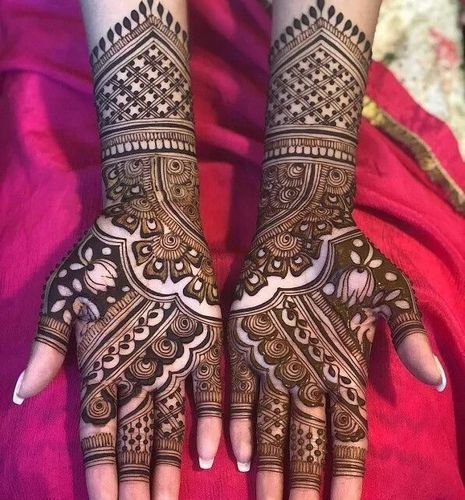
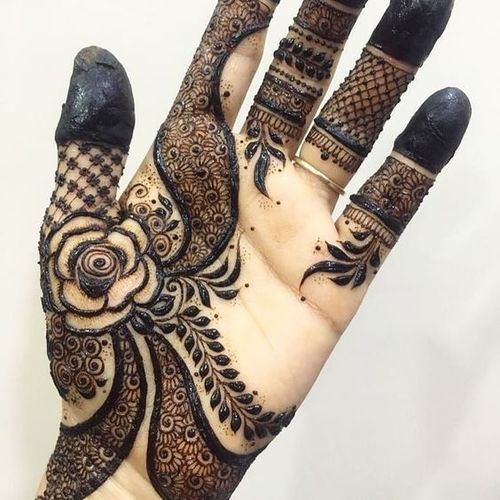
Are you looking for the perfect mehndi design to adorn your hands? Whether you’re attending a wedding or just want to spruce up your look, we’ve got the perfect front hand mehndi designs for you. Check out these simple and easy designs to add some extra sparkle to your look.
Front hand Mehndi Designs Simple and Easy
Choose the Right Design
Now that you know the basics of applying mehndi, it’s time to start exploring the endless designs available. When choosing the right design for your front hand mehndi, you want to think about what kind of look you’re going for. From simple and elegant to intricate and detailed, there are a variety of mehndi designs to choose from. Consider what you’re wearing, the occasion, and the amount of time you have to apply the mehndi. Once you’ve chosen your design, you’ll be ready to prepare your skin and gather the materials.
Prepare the Skin
Once you have chosen the perfect design, it’s time to prepare the skin so that the mehndi will adhere properly. First, you need to make sure your hands are clean and dry before applying the paste. Wash your hands thoroughly and make sure to dry them completely. If the skin is too oily or moist, the mehndi may not adhere correctly. You can also use a cotton swab on the area where you will be applying the henna. This will help remove any oils or creams that have been applied to the skin, and it will also help the mehndi paste stick better.
Gather the Materials
Once you have decided on the mehndi design you want to get, it’s time to gather the materials you will need. You will need a mehndi cone, mehndi paste, a cotton swab, a toothpick, and a piece of cloth for drying off. Before applying the mehndi paste, make sure you have clean hands and the area where you will be applying the design is clean. The mehndi cone should be filled with mehndi paste and the tip of the cone should be cut off at an angle to ensure a smooth flow of the paste. A cotton swab will help you to wipe off any mistakes or smudges that may occur during the application of the mehndi design. To create intricate details and patterns, you can use a toothpick. Finally, have a piece of cloth handy to dry off the mehndi once it has been applied.
Apply the Mehndi Paste
Applying the mehndi paste is the next step in getting a beautiful front hand mehndi design. You’ll need to prepare the paste before applying it to your skin. The best way to do this is to mix together a teaspoon of mehndi powder, a tablespoon of lemon juice, and a tablespoon of sugar. Mix these ingredients until it forms a paste-like consistency. Then, you can use a cone or a brush to apply the paste to your skin. Make sure to draw thin lines for the best results. It’s also important to make sure the paste is applied evenly and smoothly. When you’re done, you can let the paste dry for a few minutes before creating the detailed design.
Create a Base Design
Creating a base design is the foundation of your front hand mehndi. This involves using the thin mehndi cone to draw the outlines of the larger and more intricate patterns that you plan to put on your hands. Start by getting comfortable with the mehndi cone, as it can take some practice to get the hang of it. Once you are comfortable, you can begin drawing the outlines of the design. This could be a geometric pattern, intricate floral work, or something else entirely. When drawing the outlines, pay attention to the strength of the line and the thickness – this will provide a nice structure for the rest of the design.
Draw Detailed Lines and Patterns
Once you have created the base design, you can add detailed lines and patterns to it. These can range from simple lines to intricate patterns that can be as simple or complex as you desire. It is important to remember to keep the lines and patterns consistent to make sure that the design looks balanced and pleasing to the eye. Additionally, you can also add shading and color variations in the design to give it more depth and dimension.
Add Shading and Color Variations
Once you have your base design in place and have drawn all your desired lines and patterns, it’s time to add shading and color variations. To begin, you can use a small brush or cone to add shading and lines to the design. The thicker the lines and shading, the darker the color will be. You can also try adding color to your design with a henna paste that has been mixed with food coloring. This will give you a much brighter and more vibrant look. Make sure to be careful when adding color and shading, as it can easily spoil the look you’re trying to achieve. Once you’re happy with the look of the design, leave the mehndi paste on the skin overnight.
Leave the Design on Overnight
Once you have finished applying the mehndi paste, it is important to leave the design on to allow the color to develop. To ensure your mehndi design lasts as long as possible, it is recommended that you leave it on overnight. Firstly, wrap a piece of cloth around your hand or foot to keep the paste in place and prevent any smudging. After this, you can cover the area with a bandage, and leave it for 6-12 hours. This will help to keep the mehndi paste in place and prevent it from rubbing off onto clothing or furniture.
Remove the Paste and Dry Off
Once you have left the design on for several hours, it is time to remove the paste. Gently peel off the paste and then dab off any remaining paste with a cotton ball. After the paste has been removed, you should dry off the area with a clean cloth. Make sure to be very gentle as you do not want to damage your mehndi design. Once the area has been dried off, you can go ahead and apply some oil or lotion to the area to moisturize the skin and protect the design. This will also help keep the design intact and looking its best.
Care for Your Design Post-Application
Once your design is completed, it’s important to care for it properly to ensure a long lasting, vibrant look. To start, avoid getting your design wet for at least 8-12 hours after application. Additionally, keep your hands moisturized with lotion or oil to keep the design from fading. You can also apply a light layer of sugar and lemon juice to seal in the color and keep it looking vibrant for longer. Lastly, try to protect your design from direct sunlight to prevent it from fading too quickly. With proper care, your mehndi design can last up to a few weeks.
Related Posts
Comments (0)