


But now that the art form has become so familiar, many people use the term…
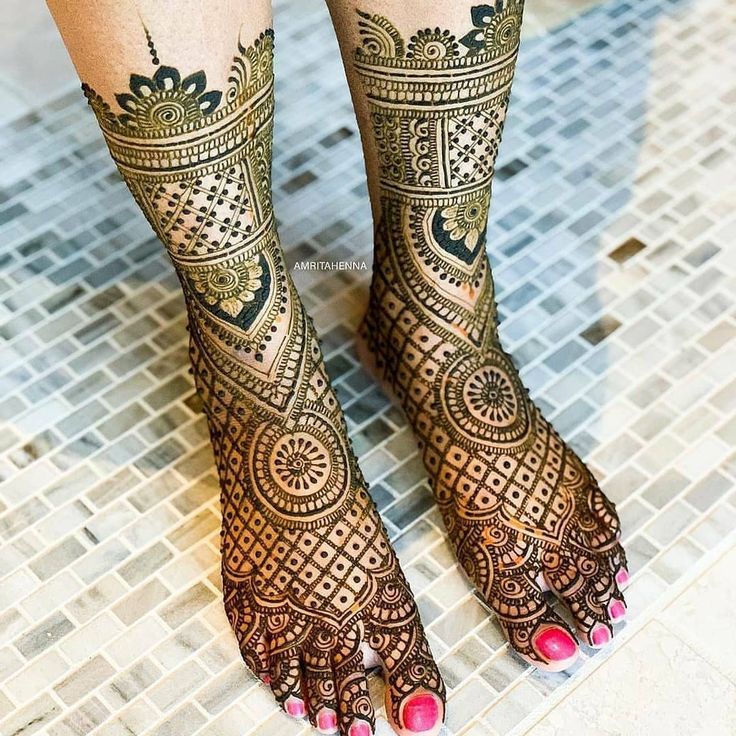
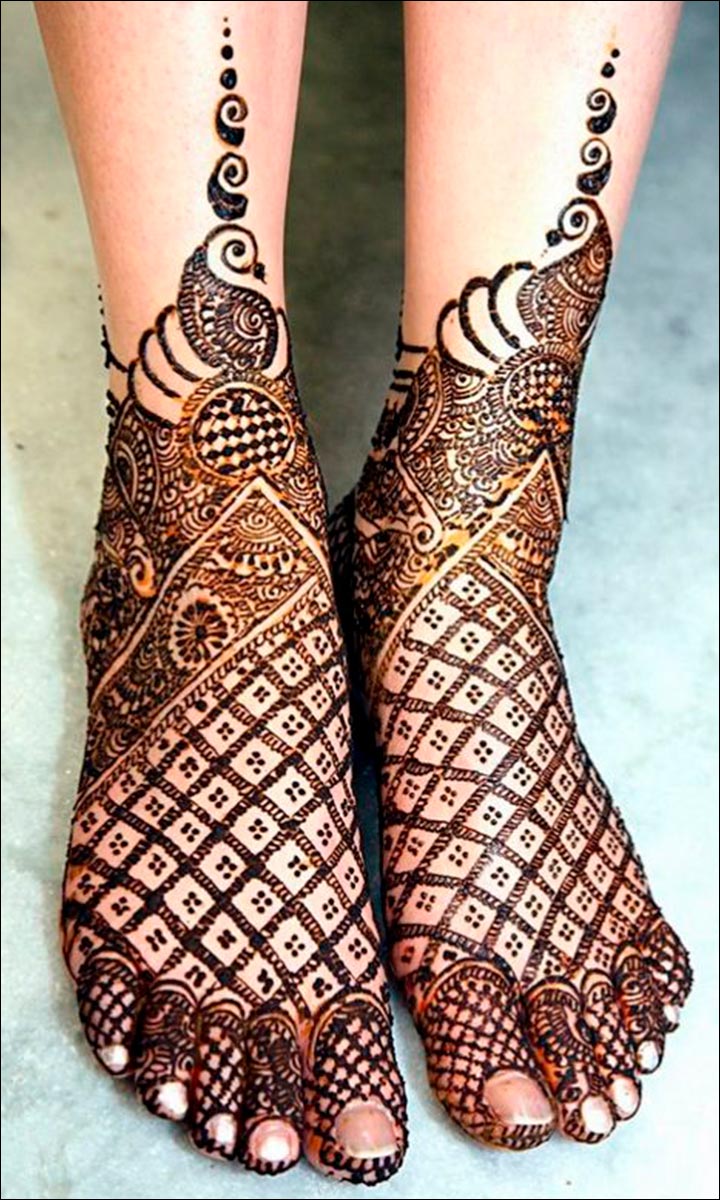
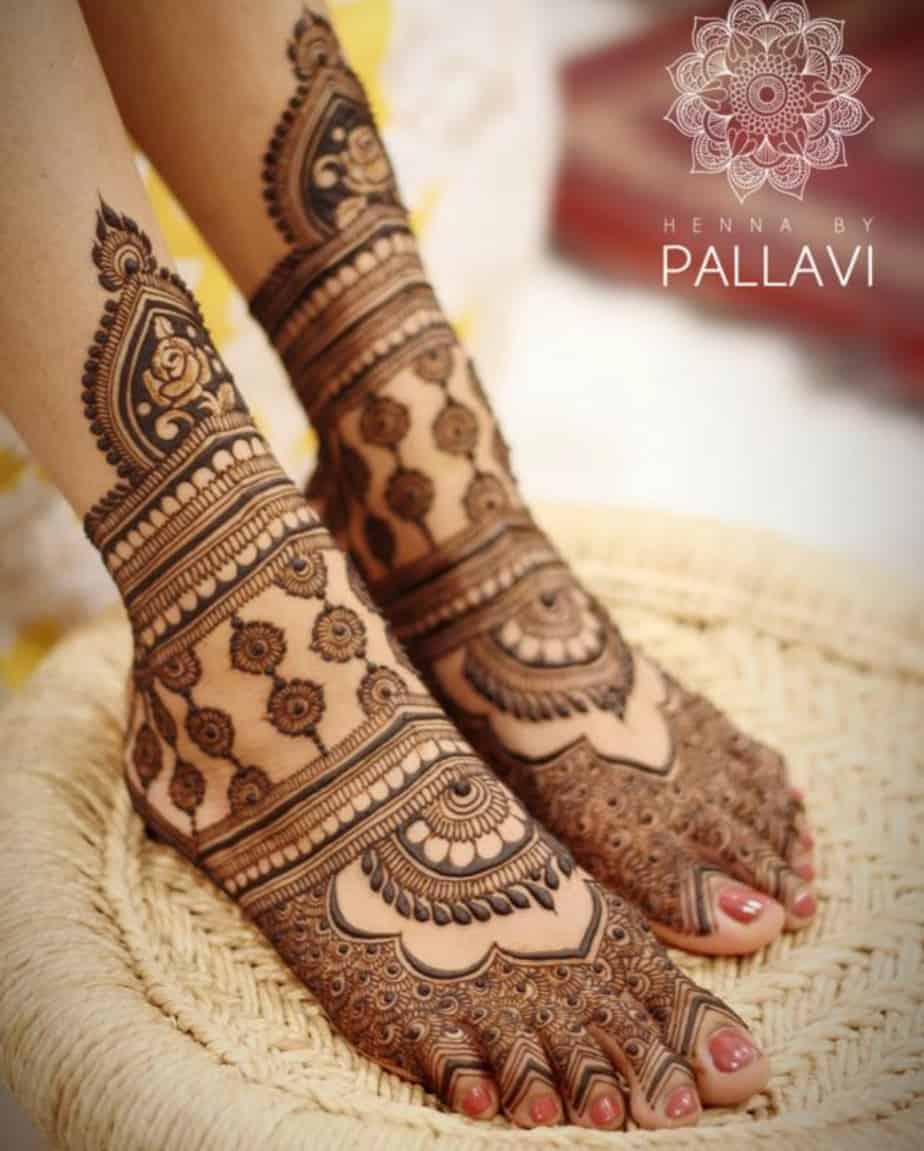
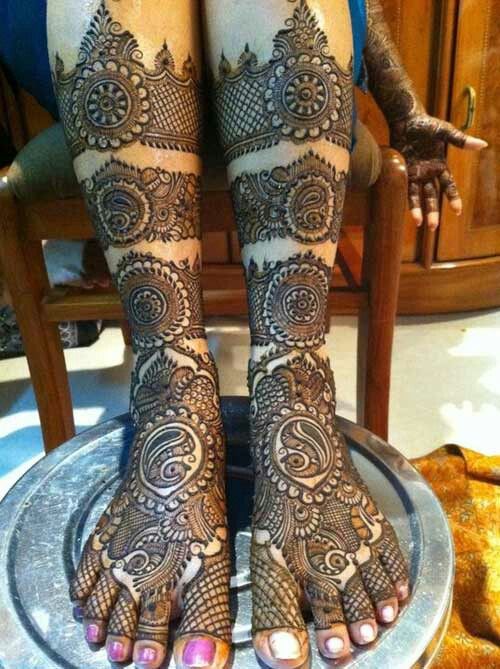
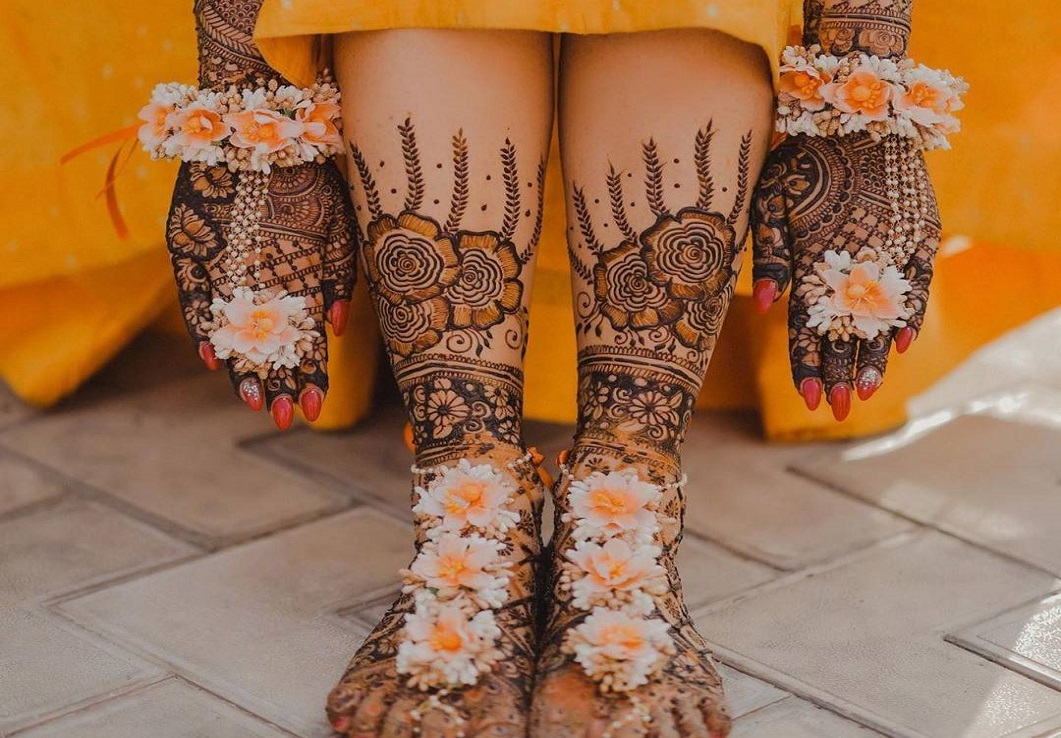
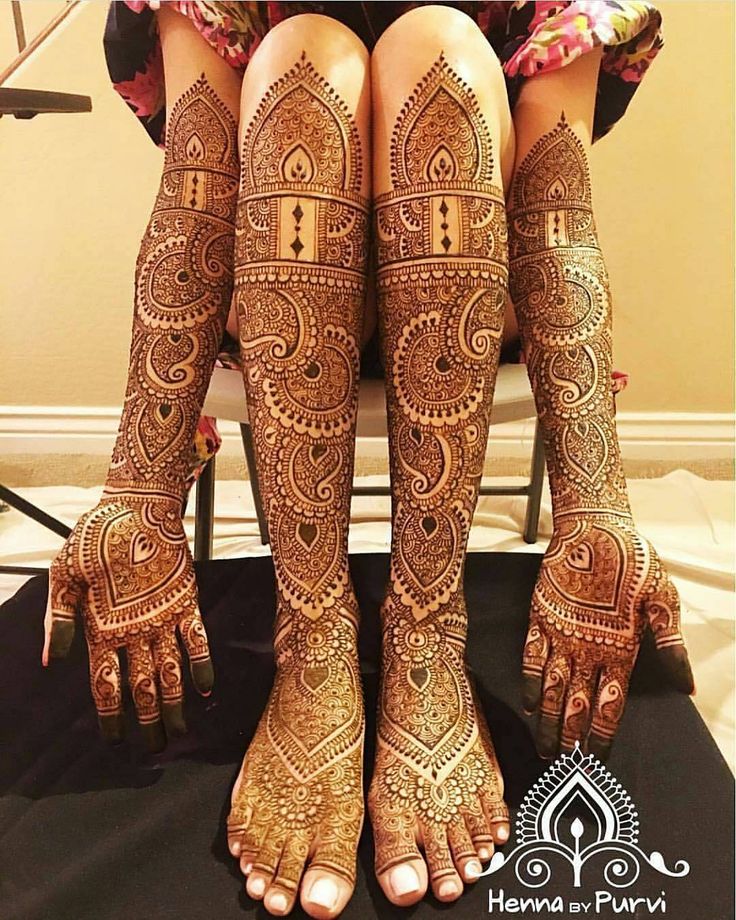
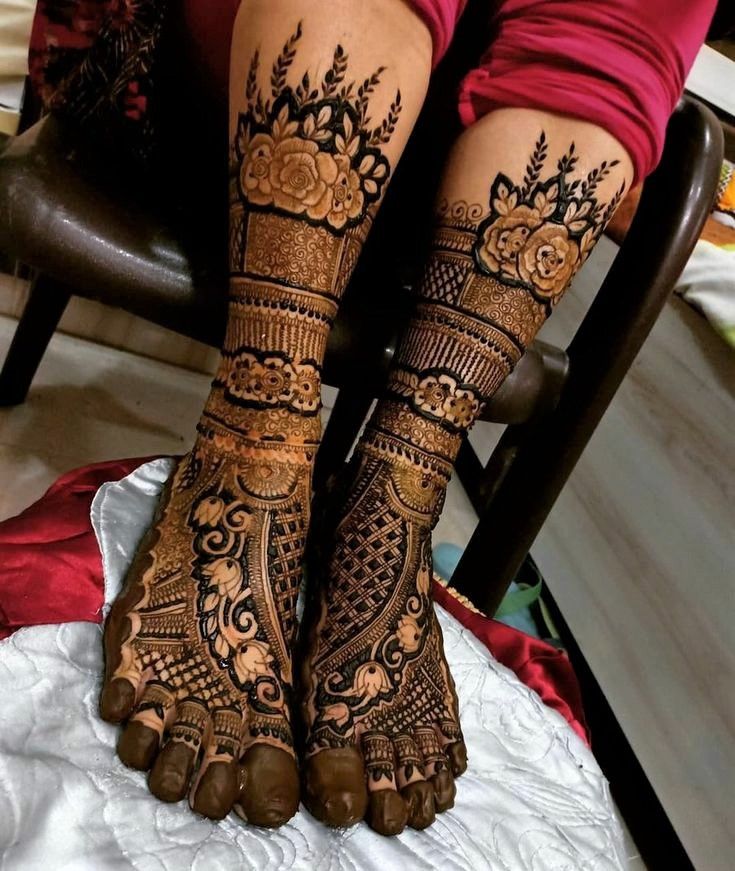
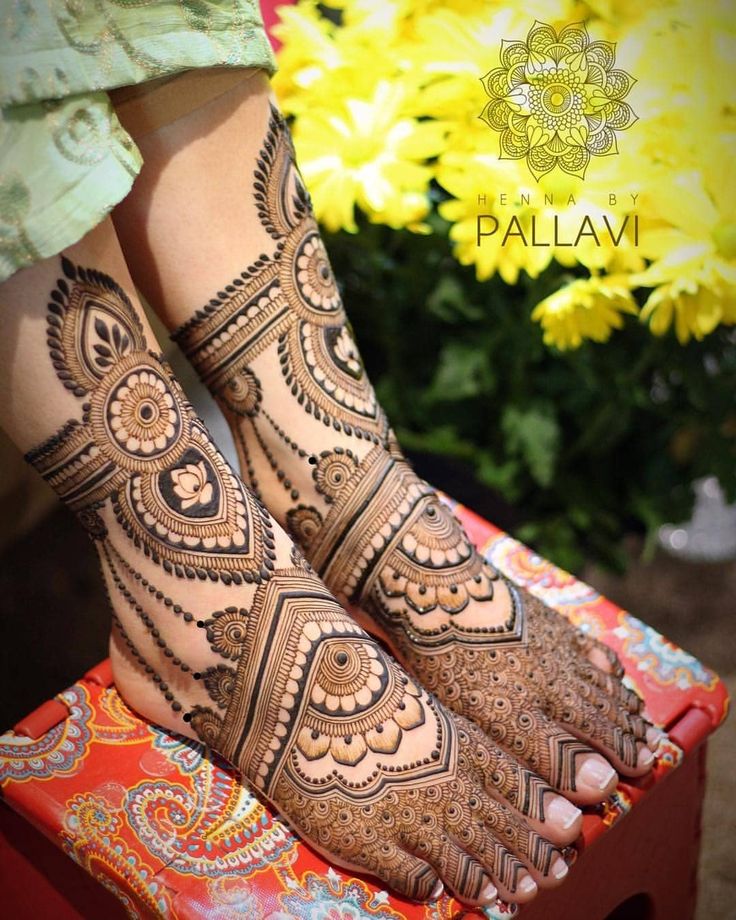
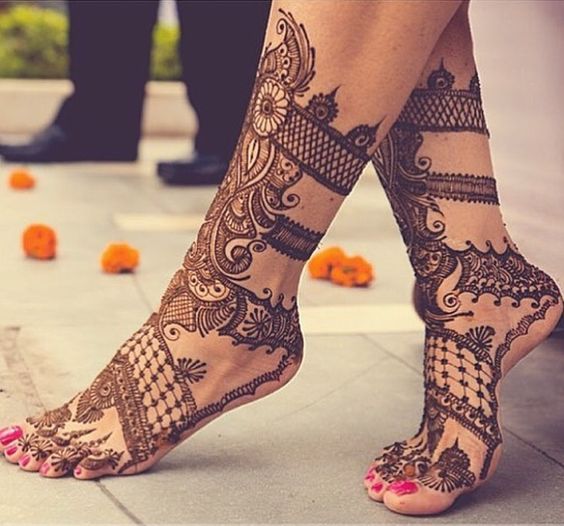
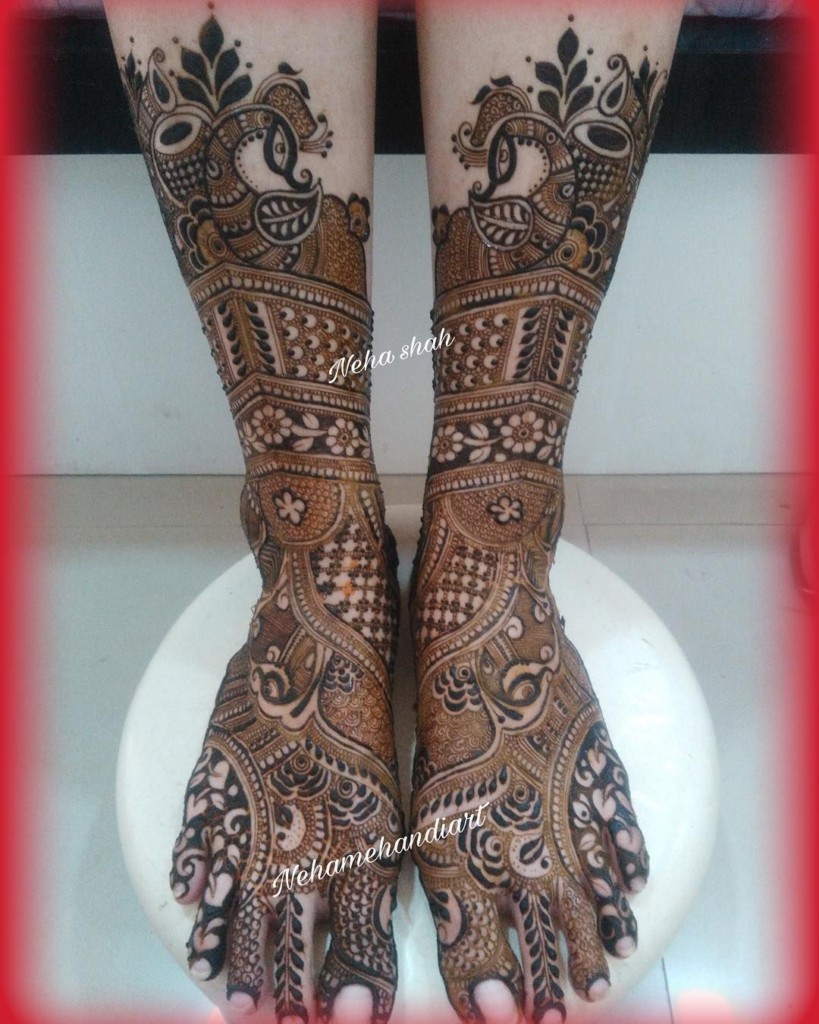
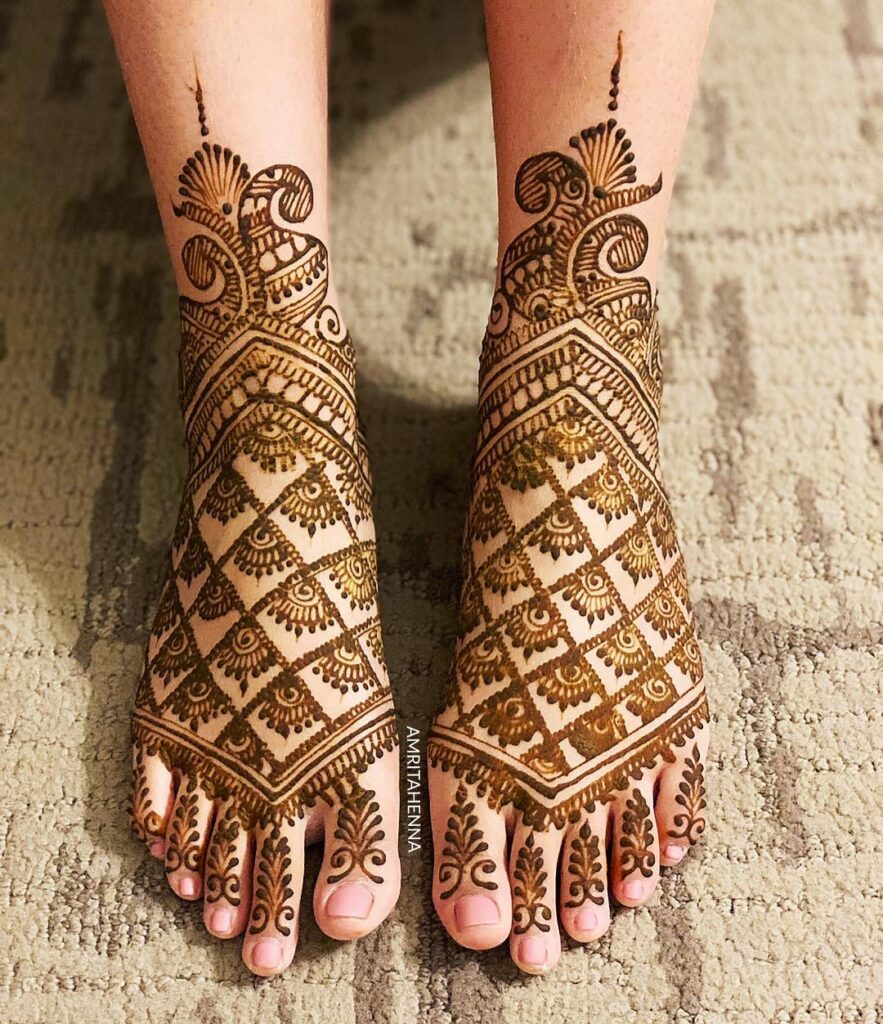
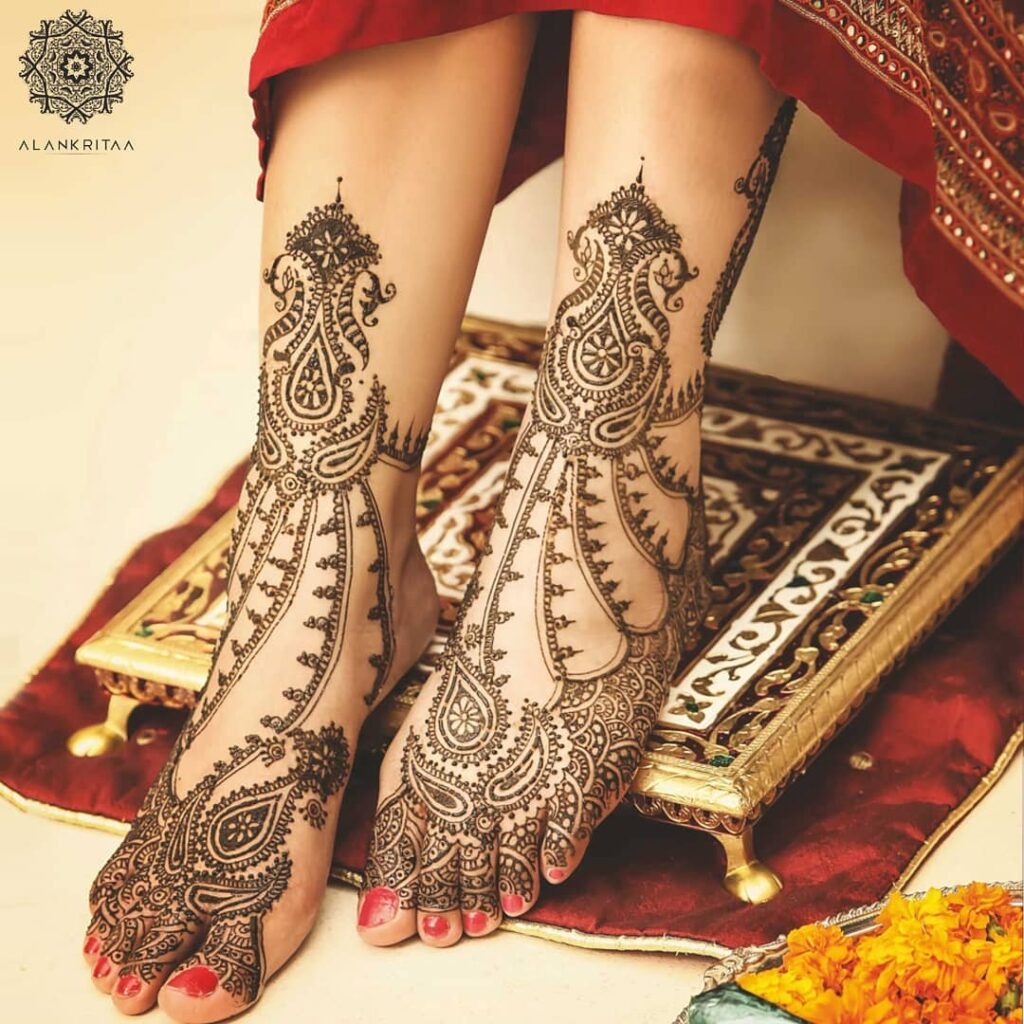
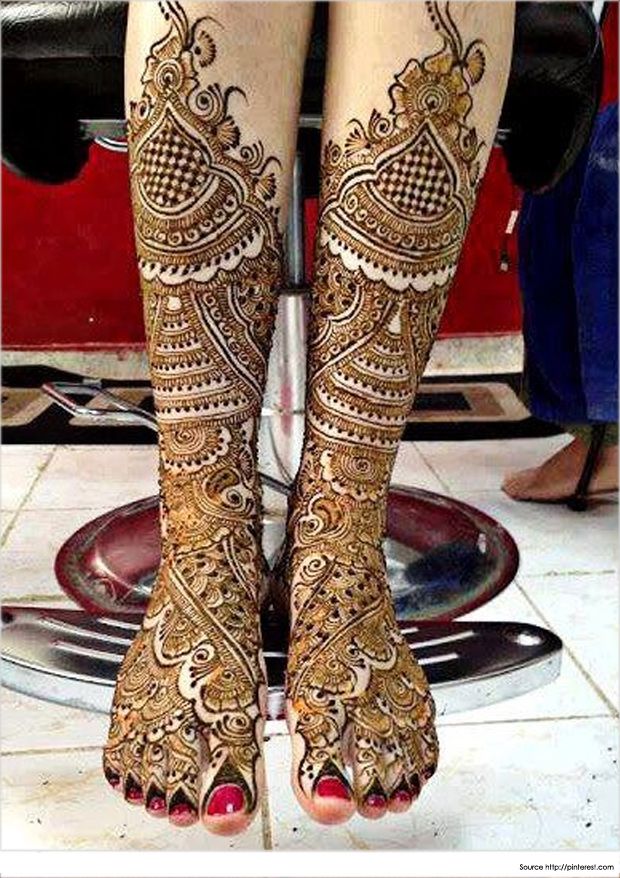
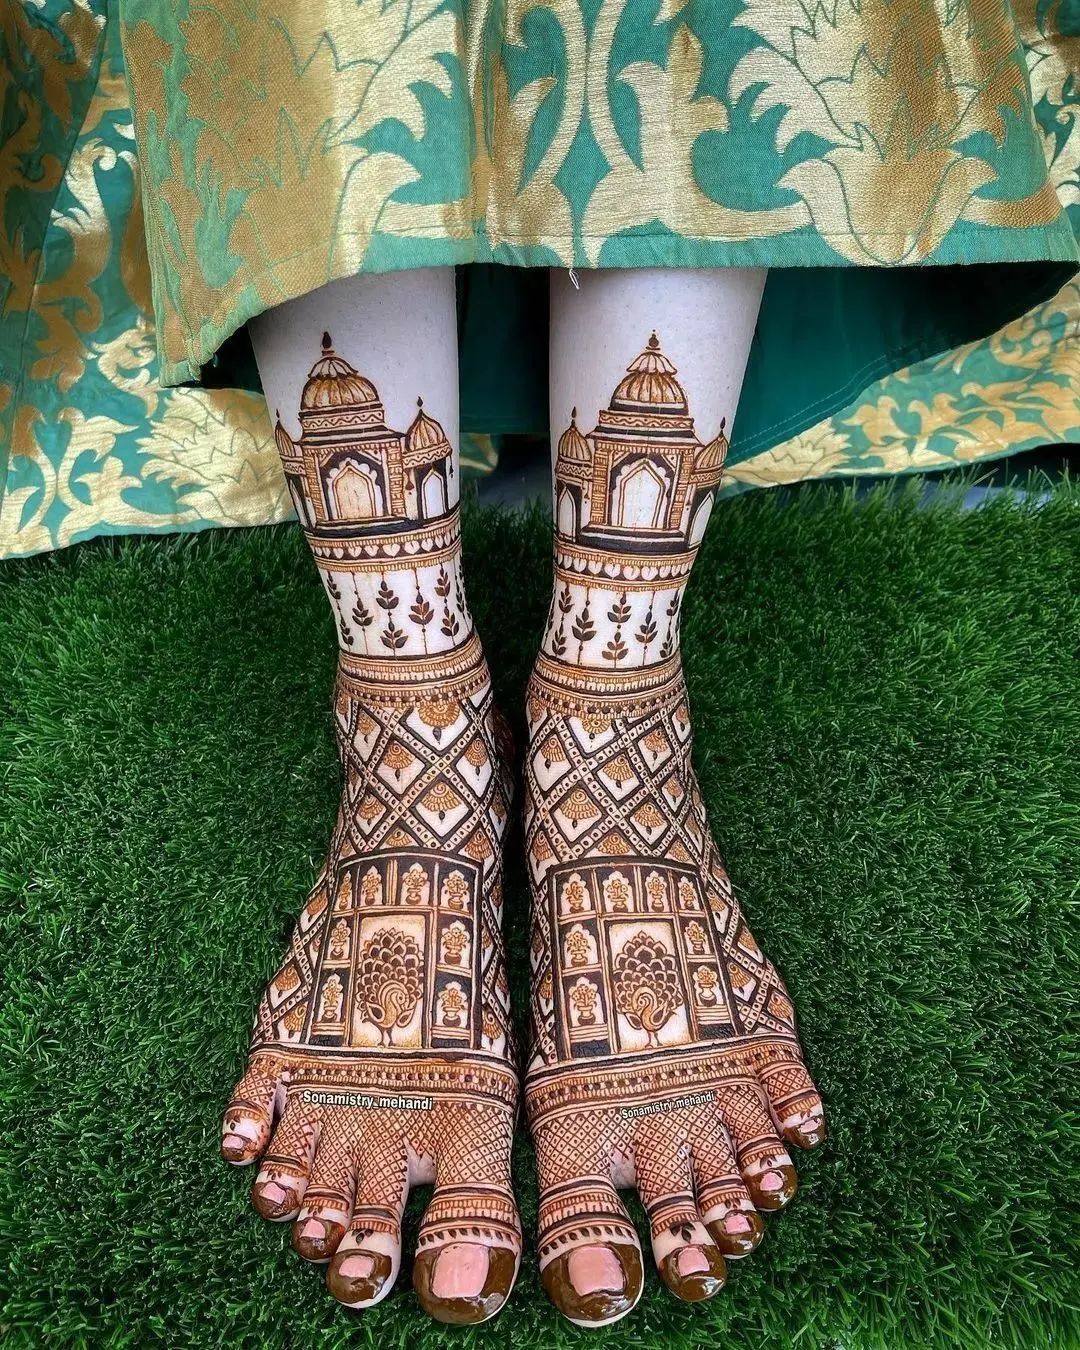
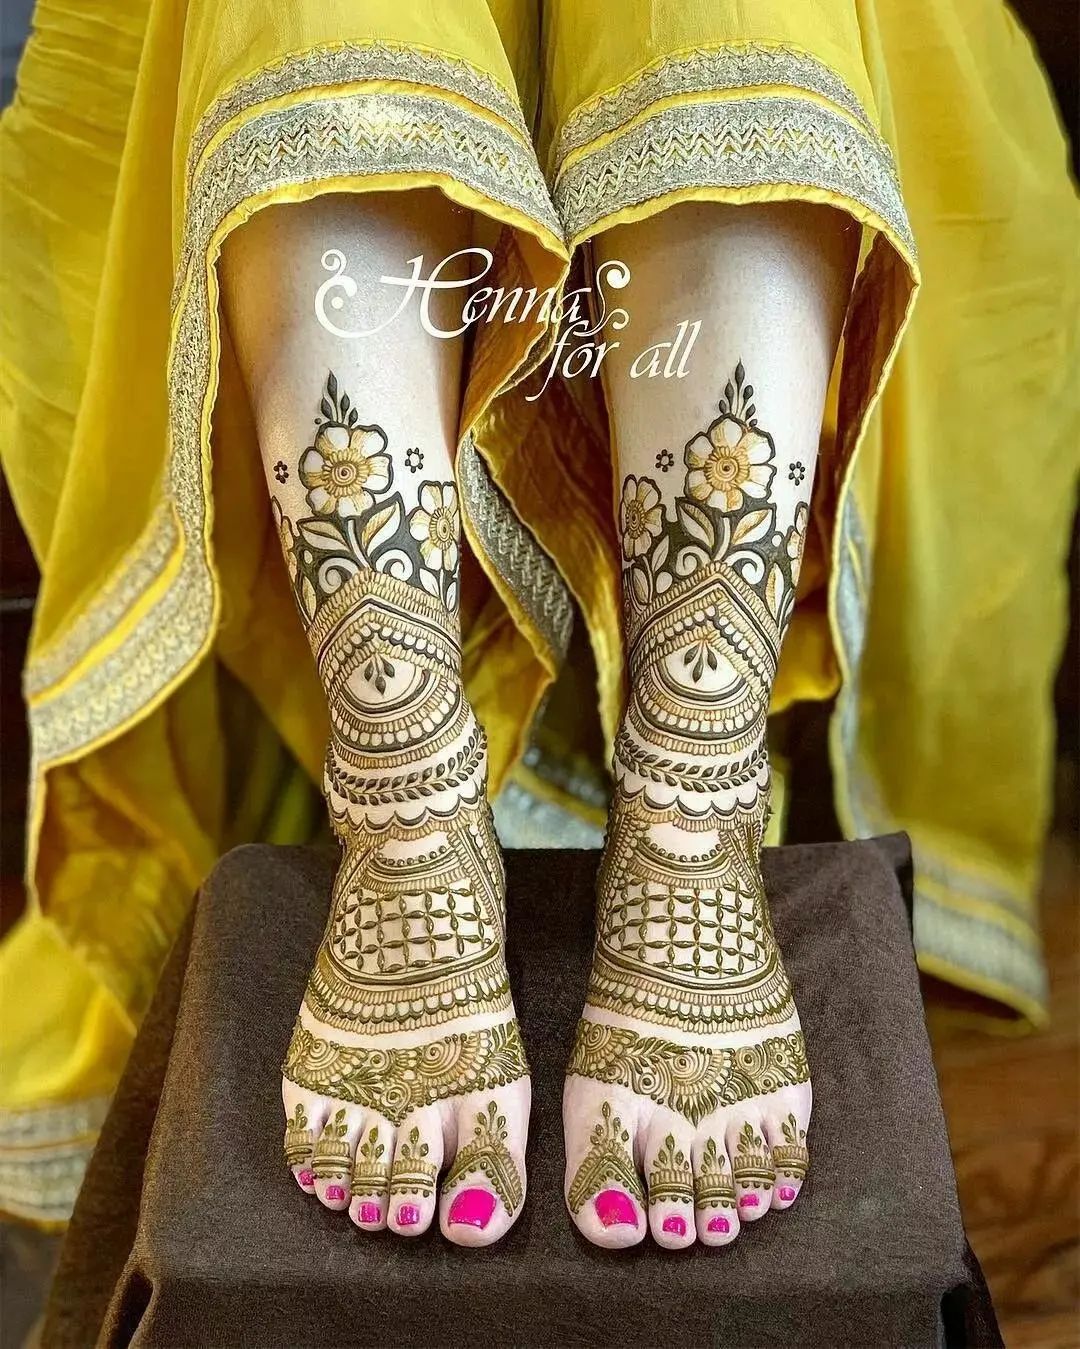
Rajasthani Leg Mehndi Designs for Bride
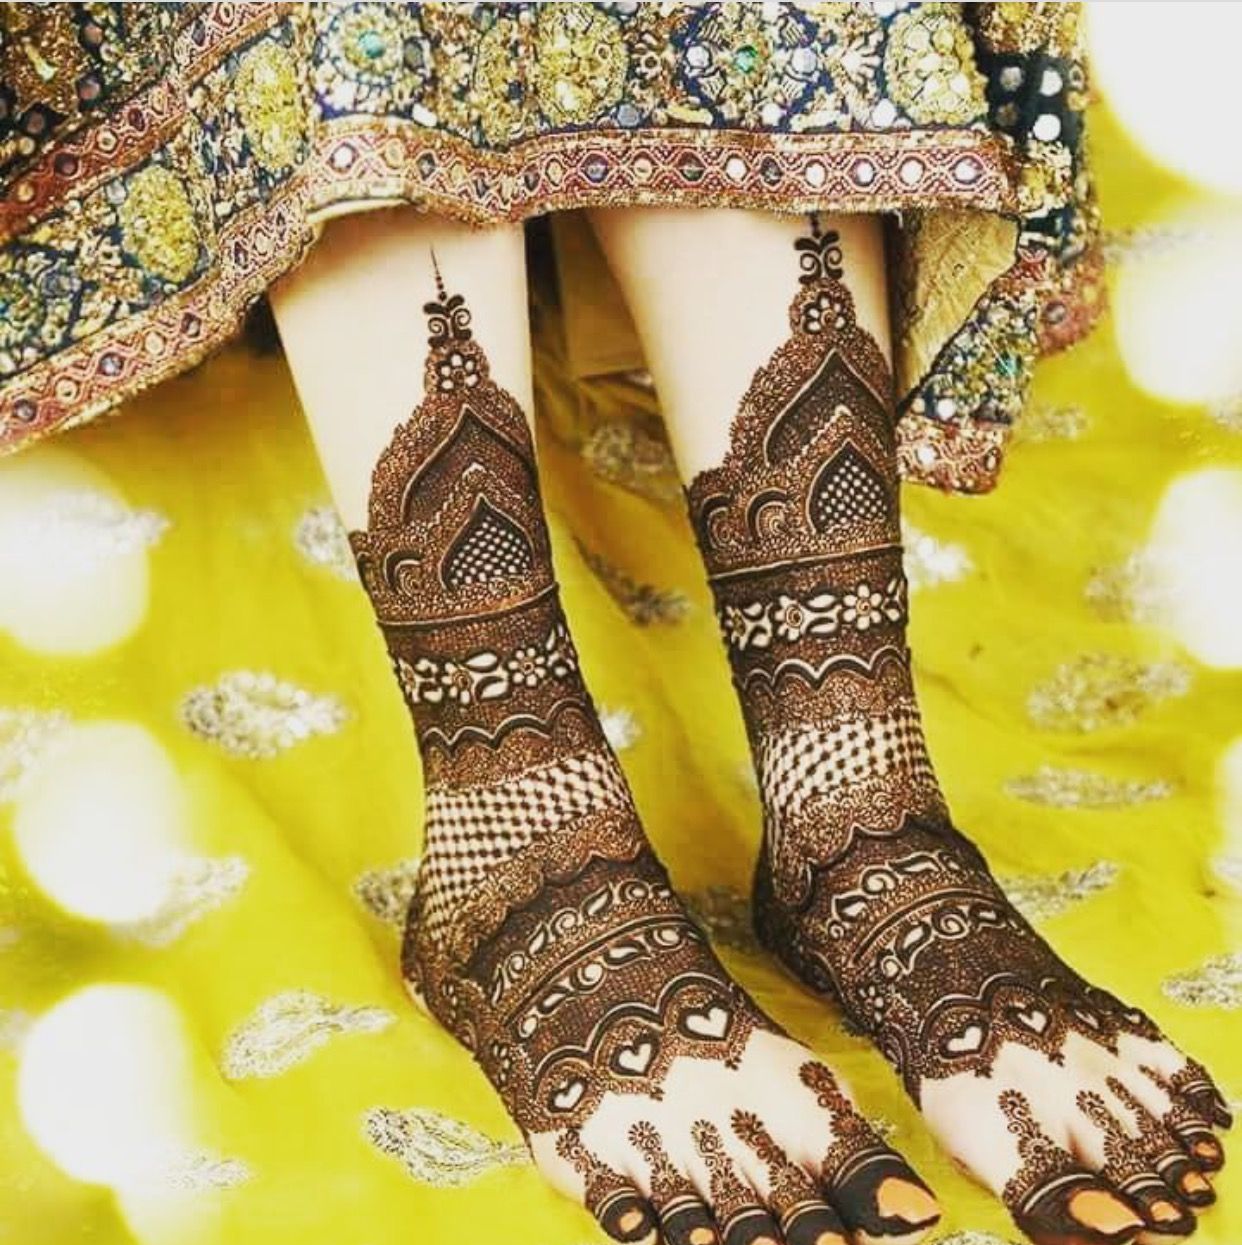
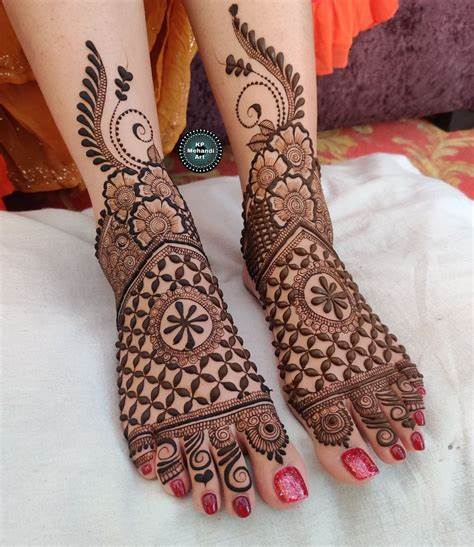
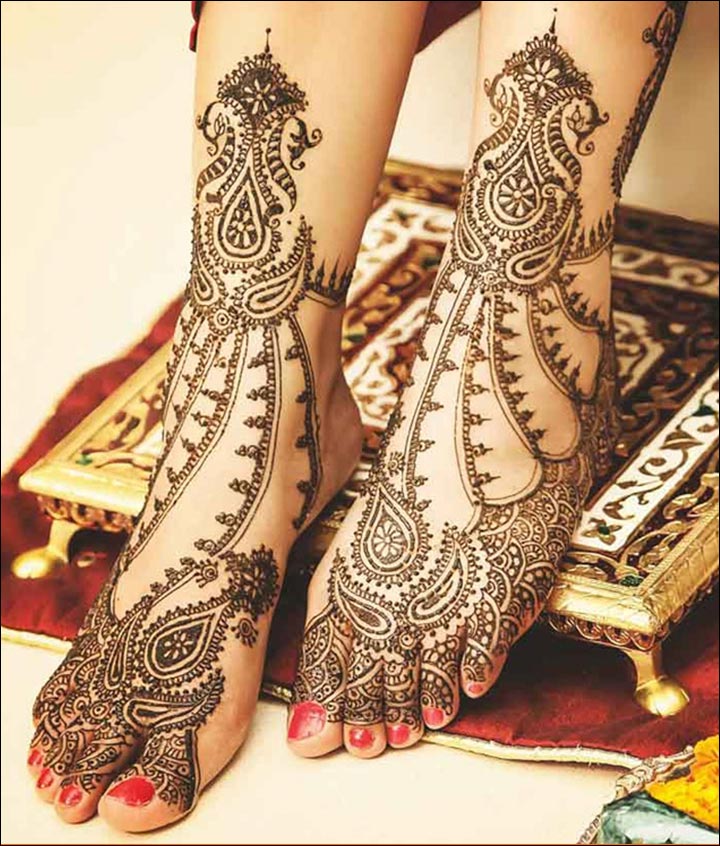
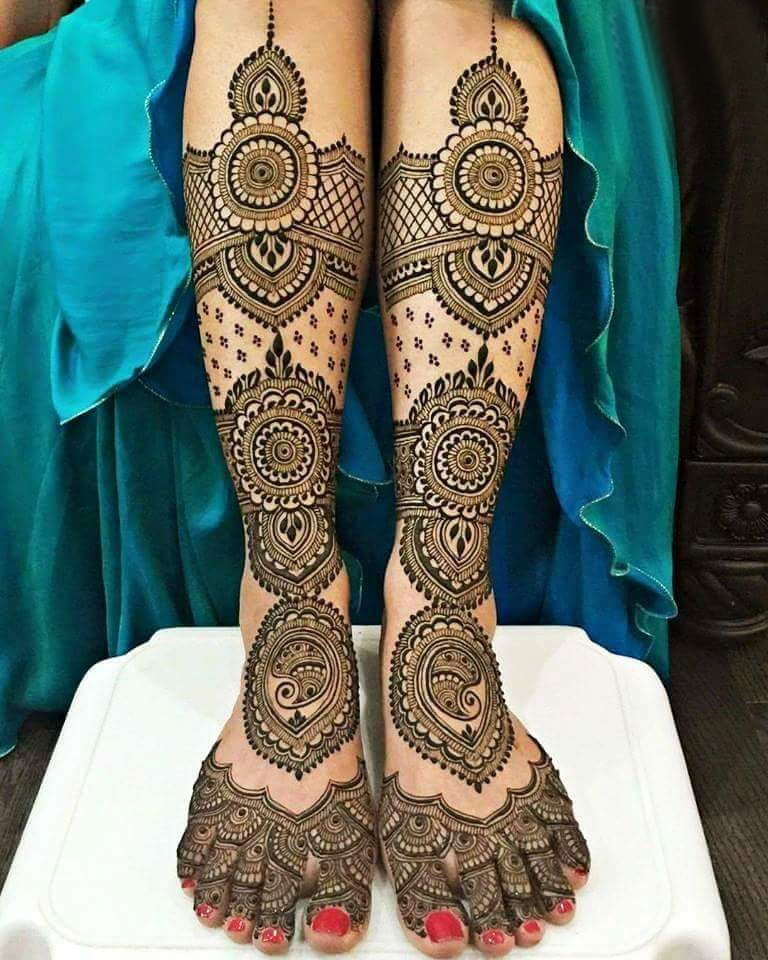
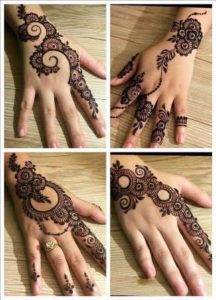
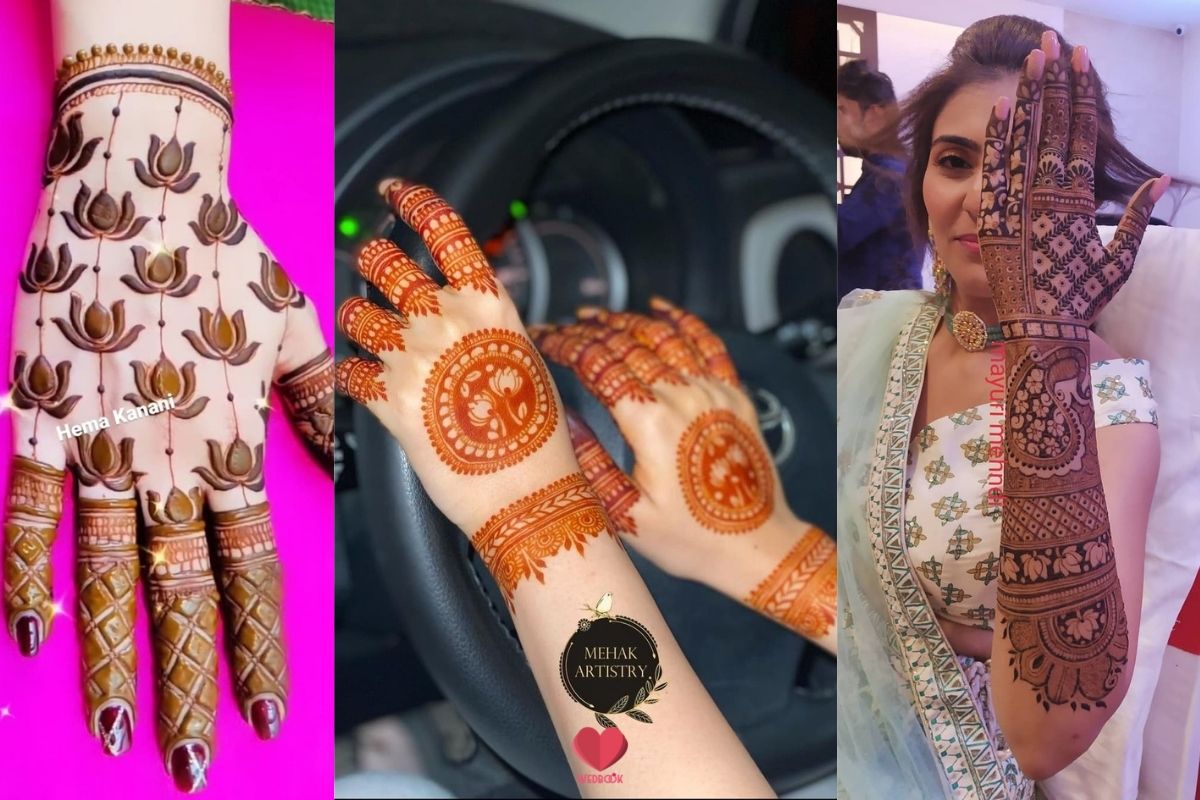
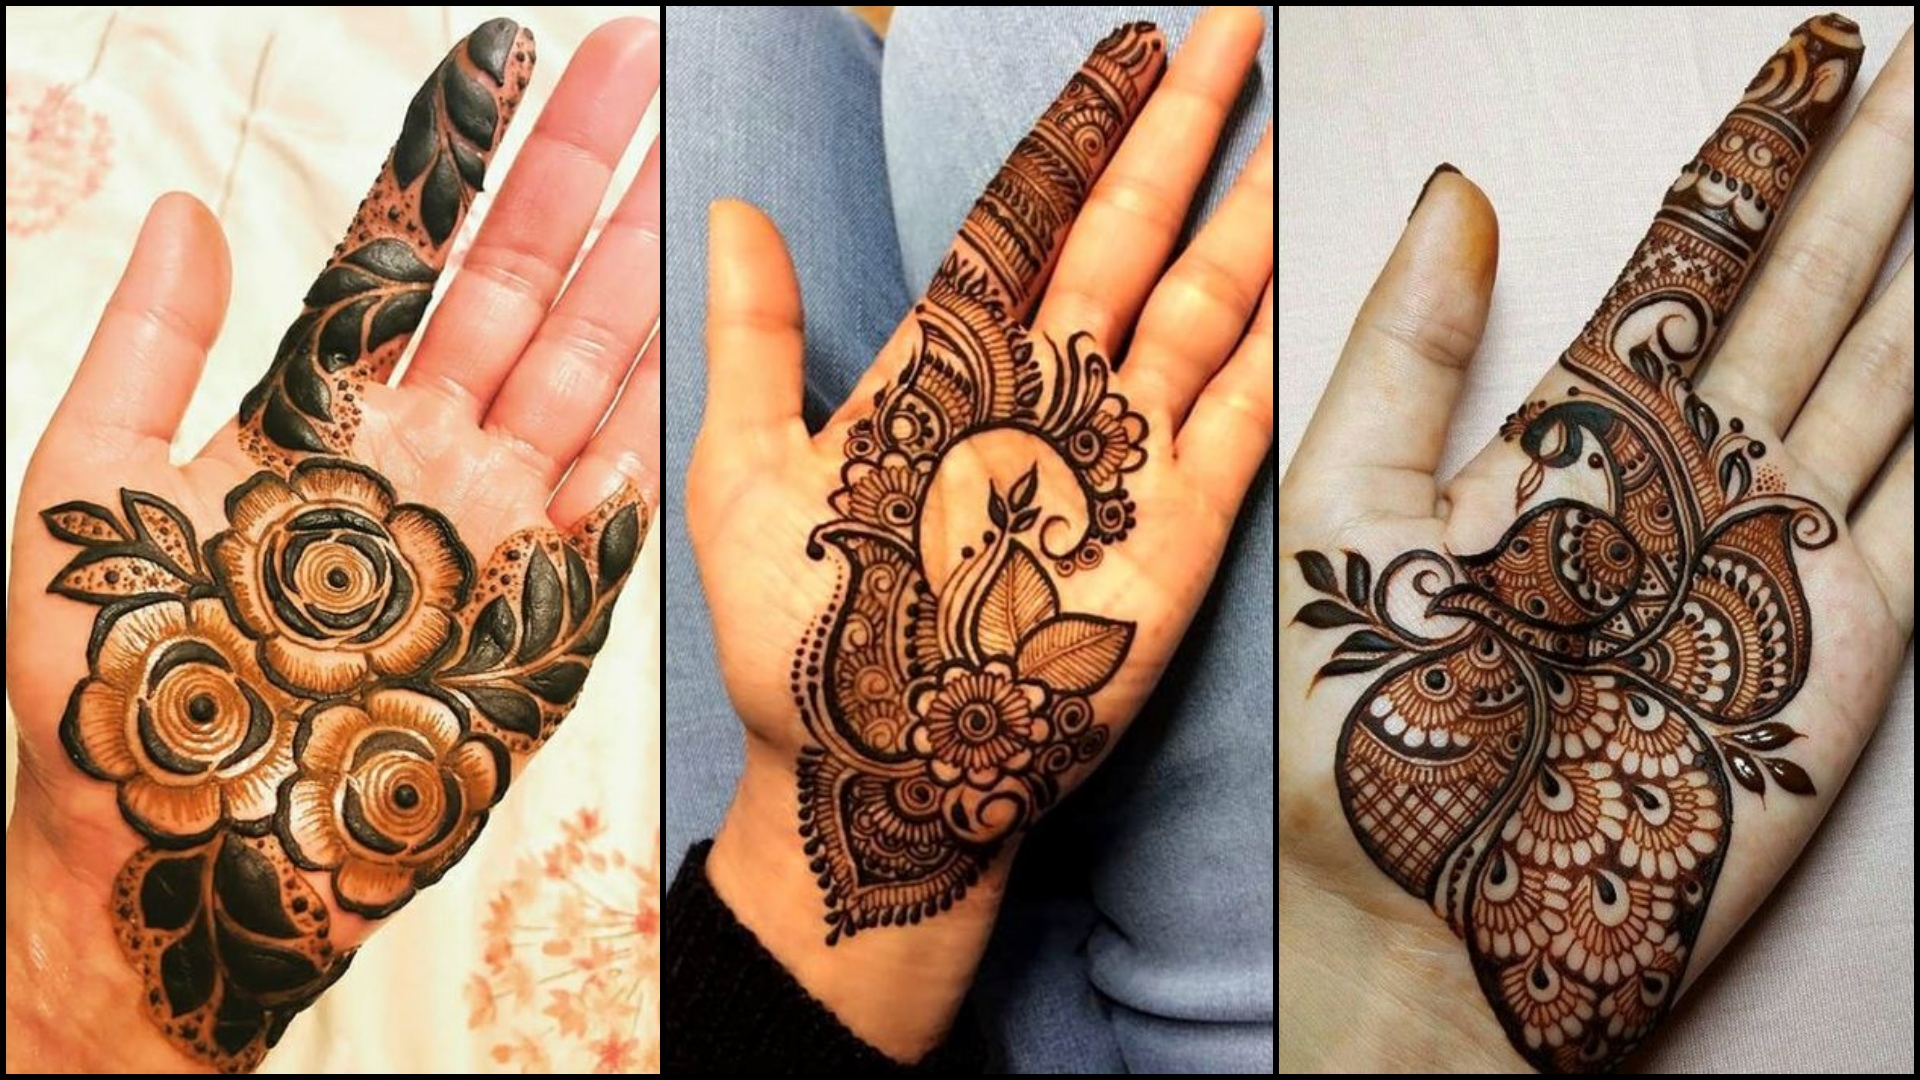
Rajasthani Mehndi designs are renowned for their detailed and complex patterns. These designs commonly include peacocks, elephants, floral motifs, and traditional paisley designs.
Rajasthani Leg Mehendi Designs for Bride
How to apply Rajasthani Leg Mehendi Design for Bride
Here’s a step-by-step guide for a Rajasthani leg mehndi design that would be perfect for a bride:
Step 1: Preparation
Start by cleaning and exfoliating the bride’s legs to ensure a smooth application surface. Then, gather all the necessary tools, including henna cones, tissues, and lemon-sugar solution for sealing the design.
Step 2: Base Design
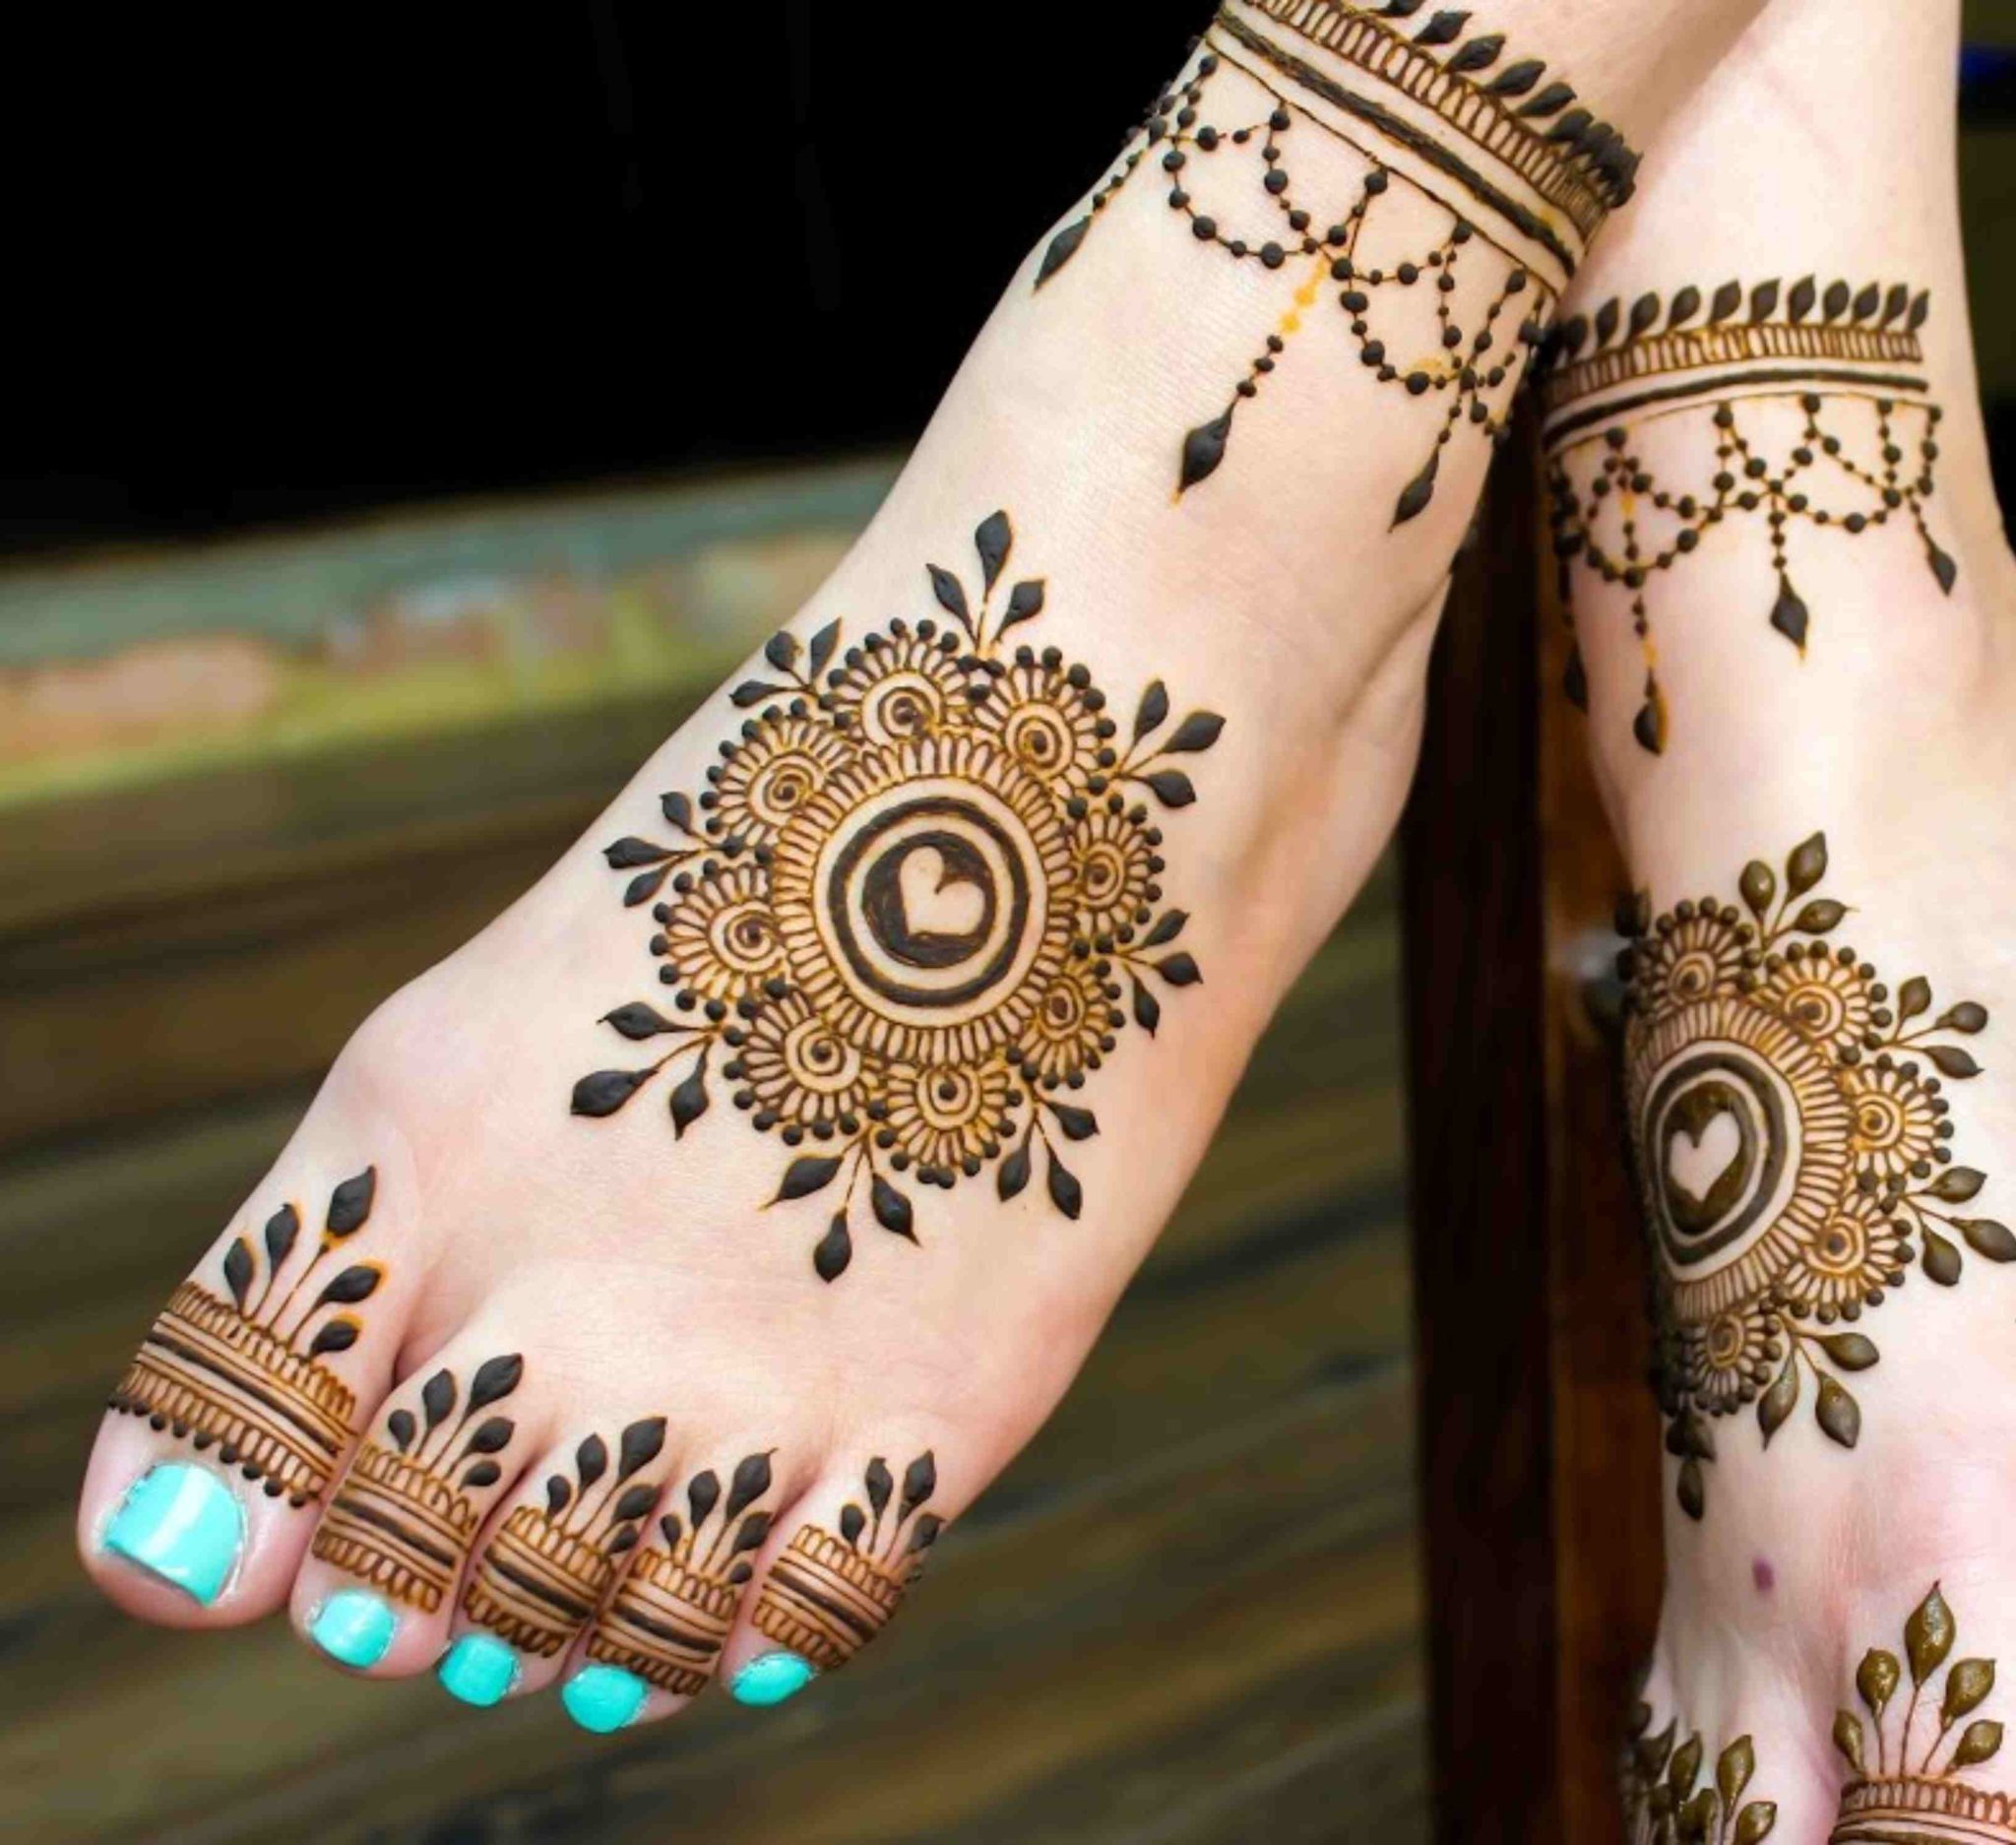
Begin with a central motif on the upper part of the foot. This could be a large flower, paisley, or a peacock. Let the design flow naturally towards the toes, using delicate swirls and leaf patterns. Rajasthani designs often incorporate fine lines and intricate details.
Step 3: Peacock Motifs
Rajasthani designs often feature peacock motifs. Draw a majestic peacock on one side of the leg, with its tail feathers extending along the length of the leg. Use paisley patterns and swirls to fill in the spaces around the peacock.
Step 4: Intricate Patterns
Add intricate patterns around the main motifs. This could include delicate vines, leaves, and small flowers. These patterns should flow along the contours of the leg, creating a harmonious and balanced design.
Step 5: Anklet Design
Around the ankle area, create a decorative anklet using a combination of intricate lines and dots. You can also incorporate small hanging beads or bells in the design for a traditional touch.
Step 6: Filling the Spaces
Fill any remaining spaces with smaller paisleys, dots, and swirls. These elements help create a rich and dense look for the mehndi design.
Step 7: Tips and Fingers
Extend the design onto the tips of the toes, creating delicate patterns on each toe. You can also add small motifs on the sides of the feet.
Step 8: Drying and Sealing
Allow the mehndi to dry completely, which usually takes a few hours. Once dry, gently scrape off the dried henna, revealing the deep orange stain underneath. To enhance the color and longevity of the design, apply a lemon-sugar solution using a cotton ball.
Remember, Rajasthani mehndi designs are all about intricate detailing, so take your time and pay attention to the small elements. It’s a good idea to practice the design on paper or on a friend’s hand before attempting it on the bride’s leg. Additionally, you can personalize the design by adding the bride’s initials or other symbols that are meaningful to her and her family.
Related Posts
This Post Has 0 Comments